How to Make Embroidery Hoop Wall Decor
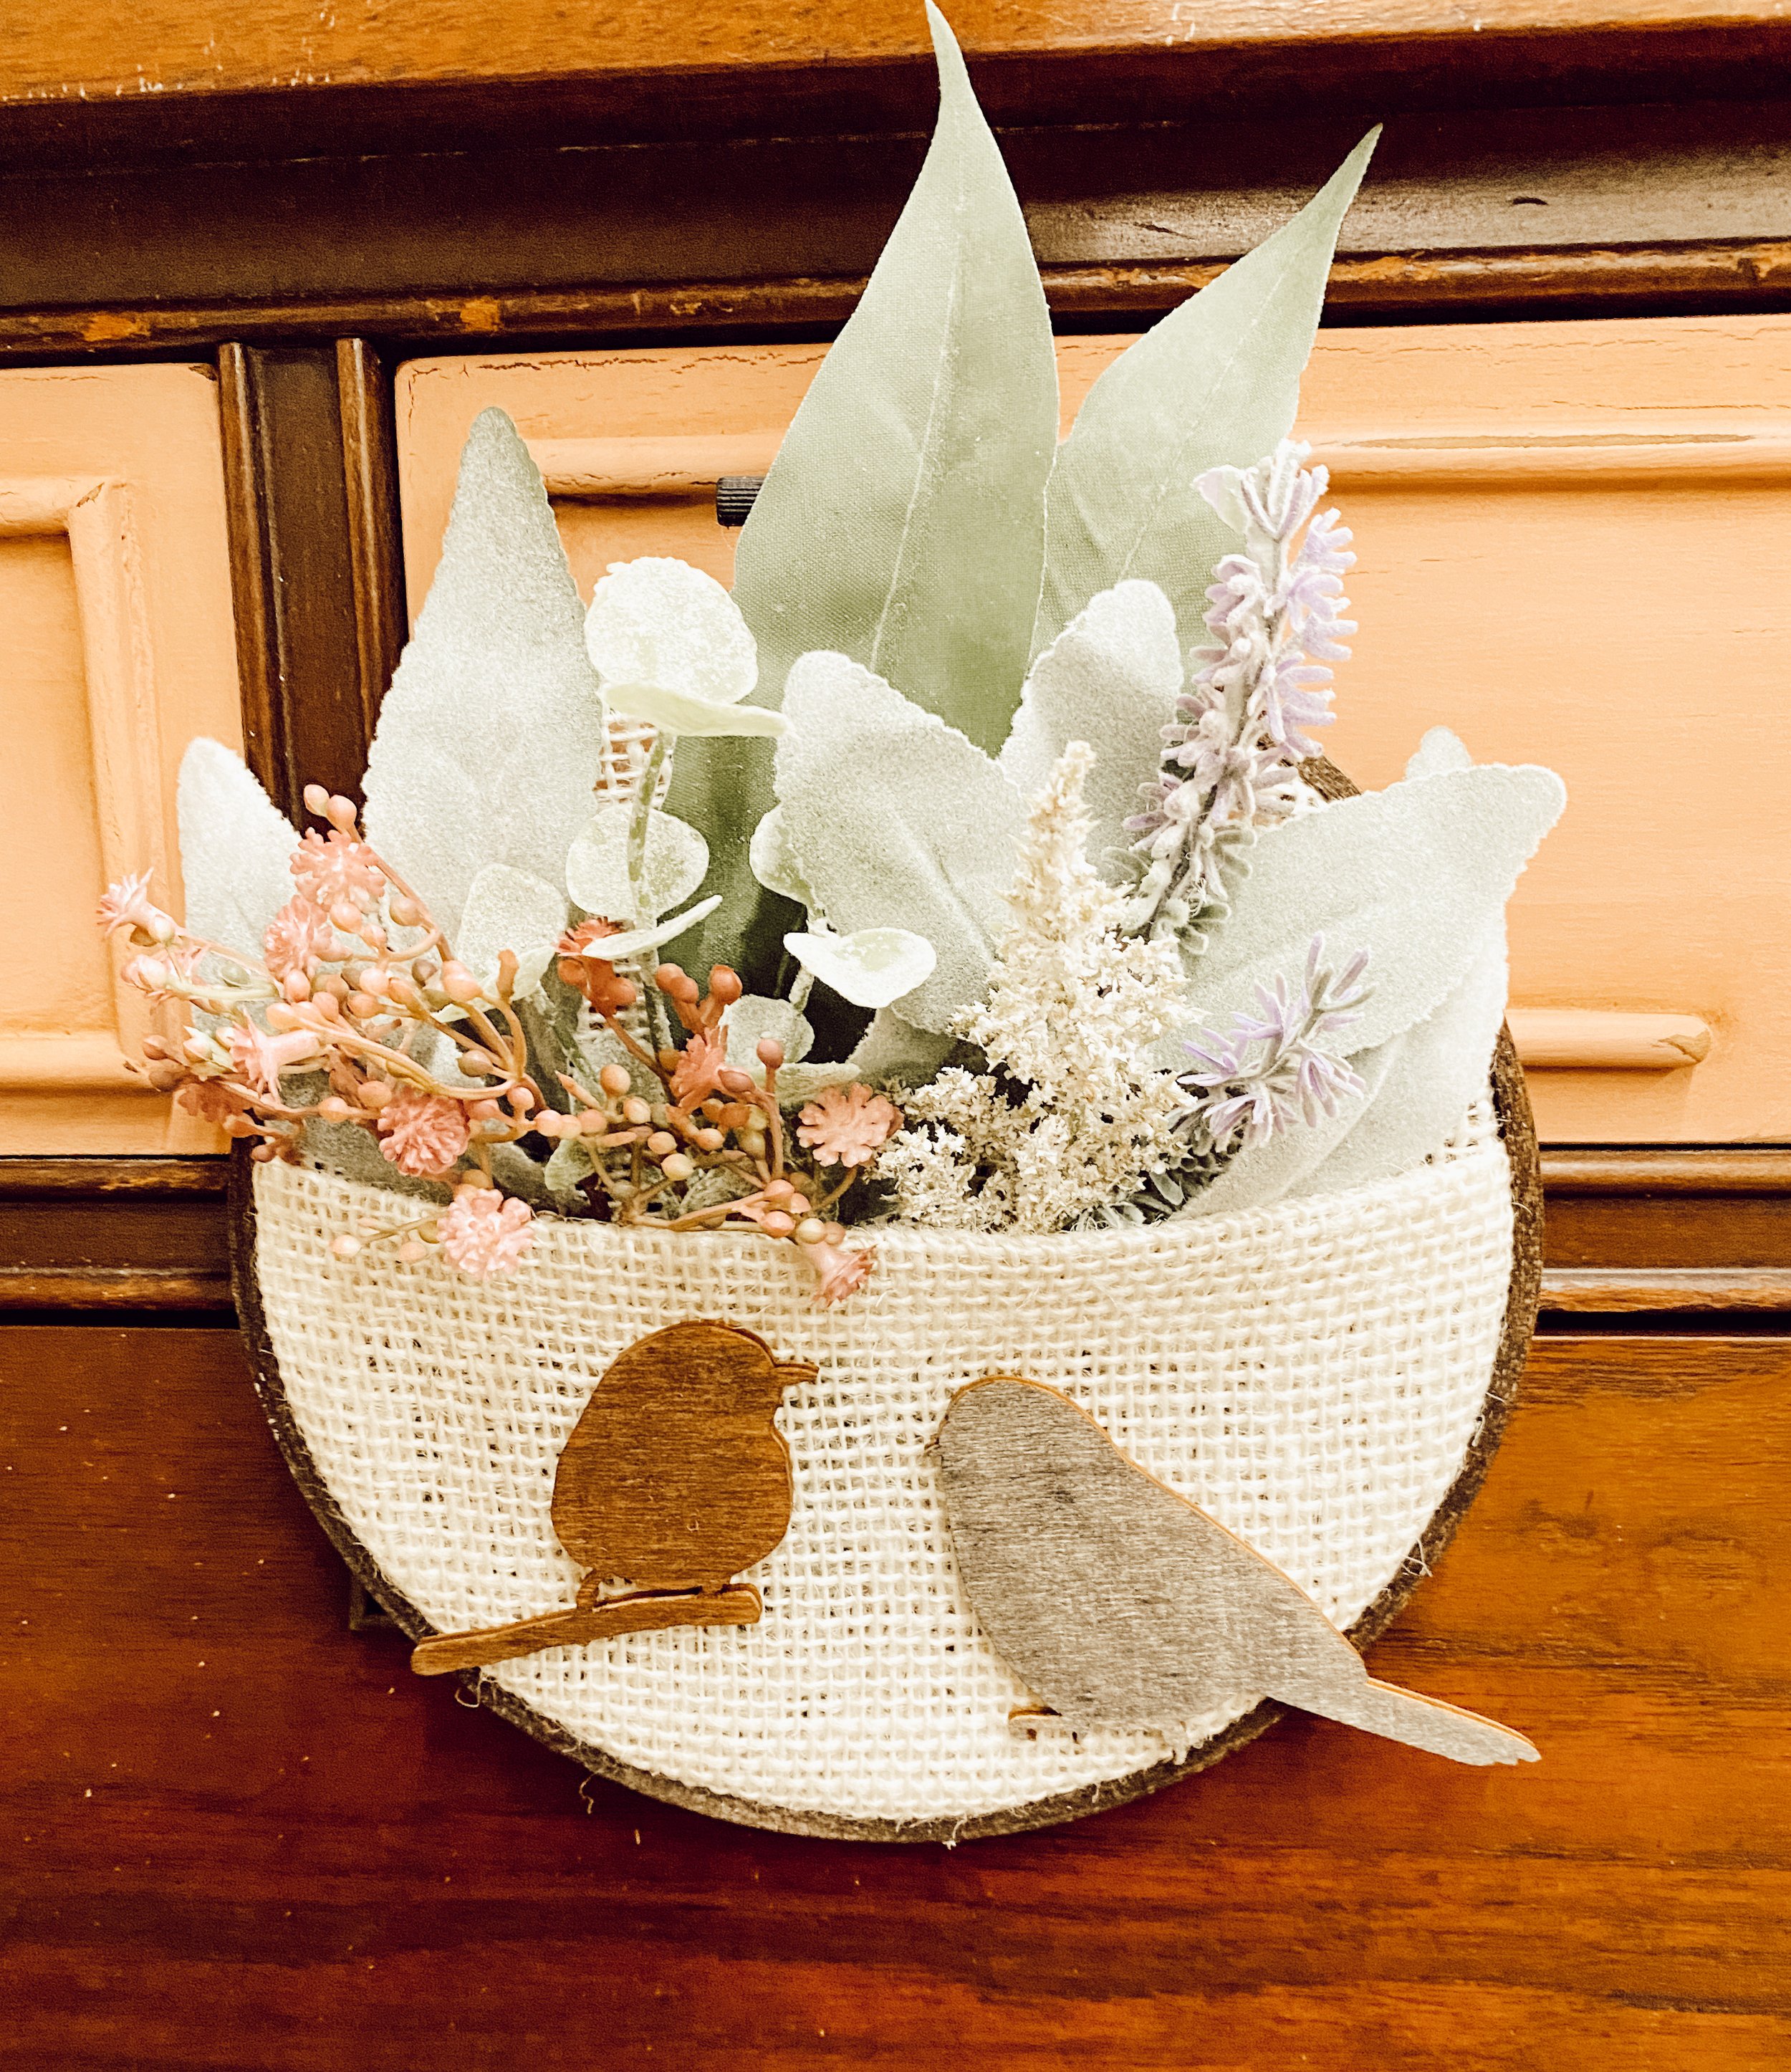
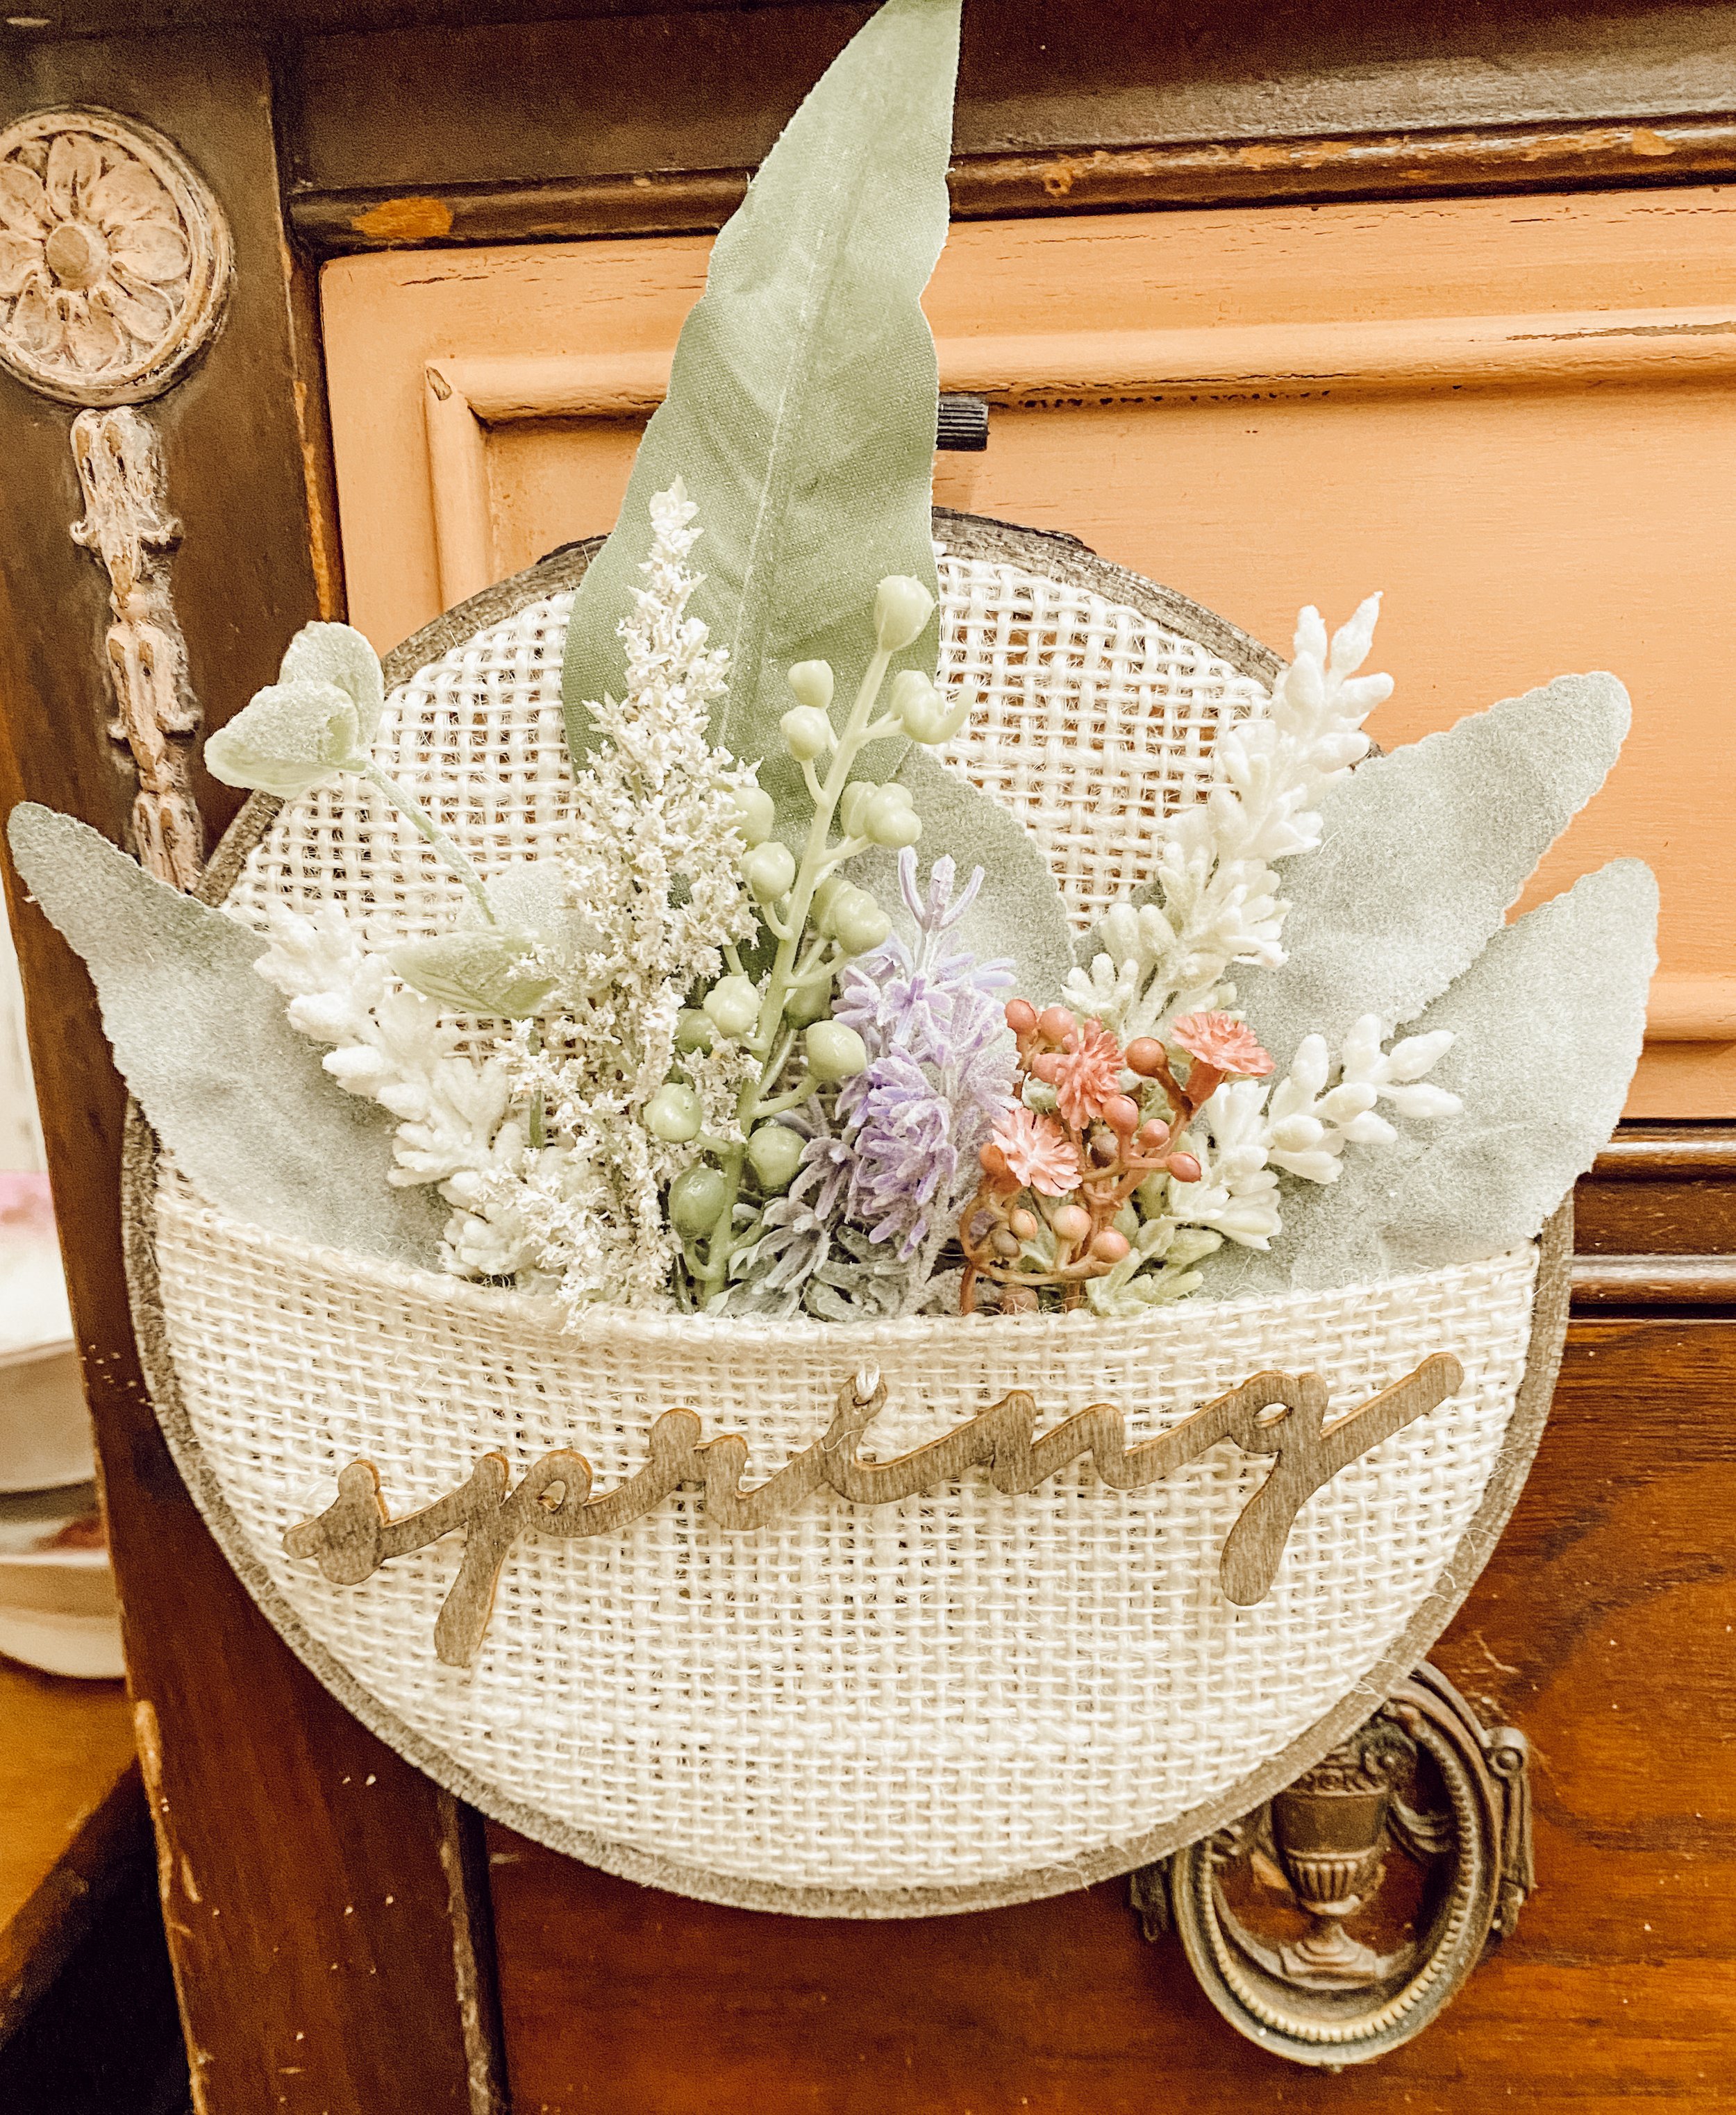
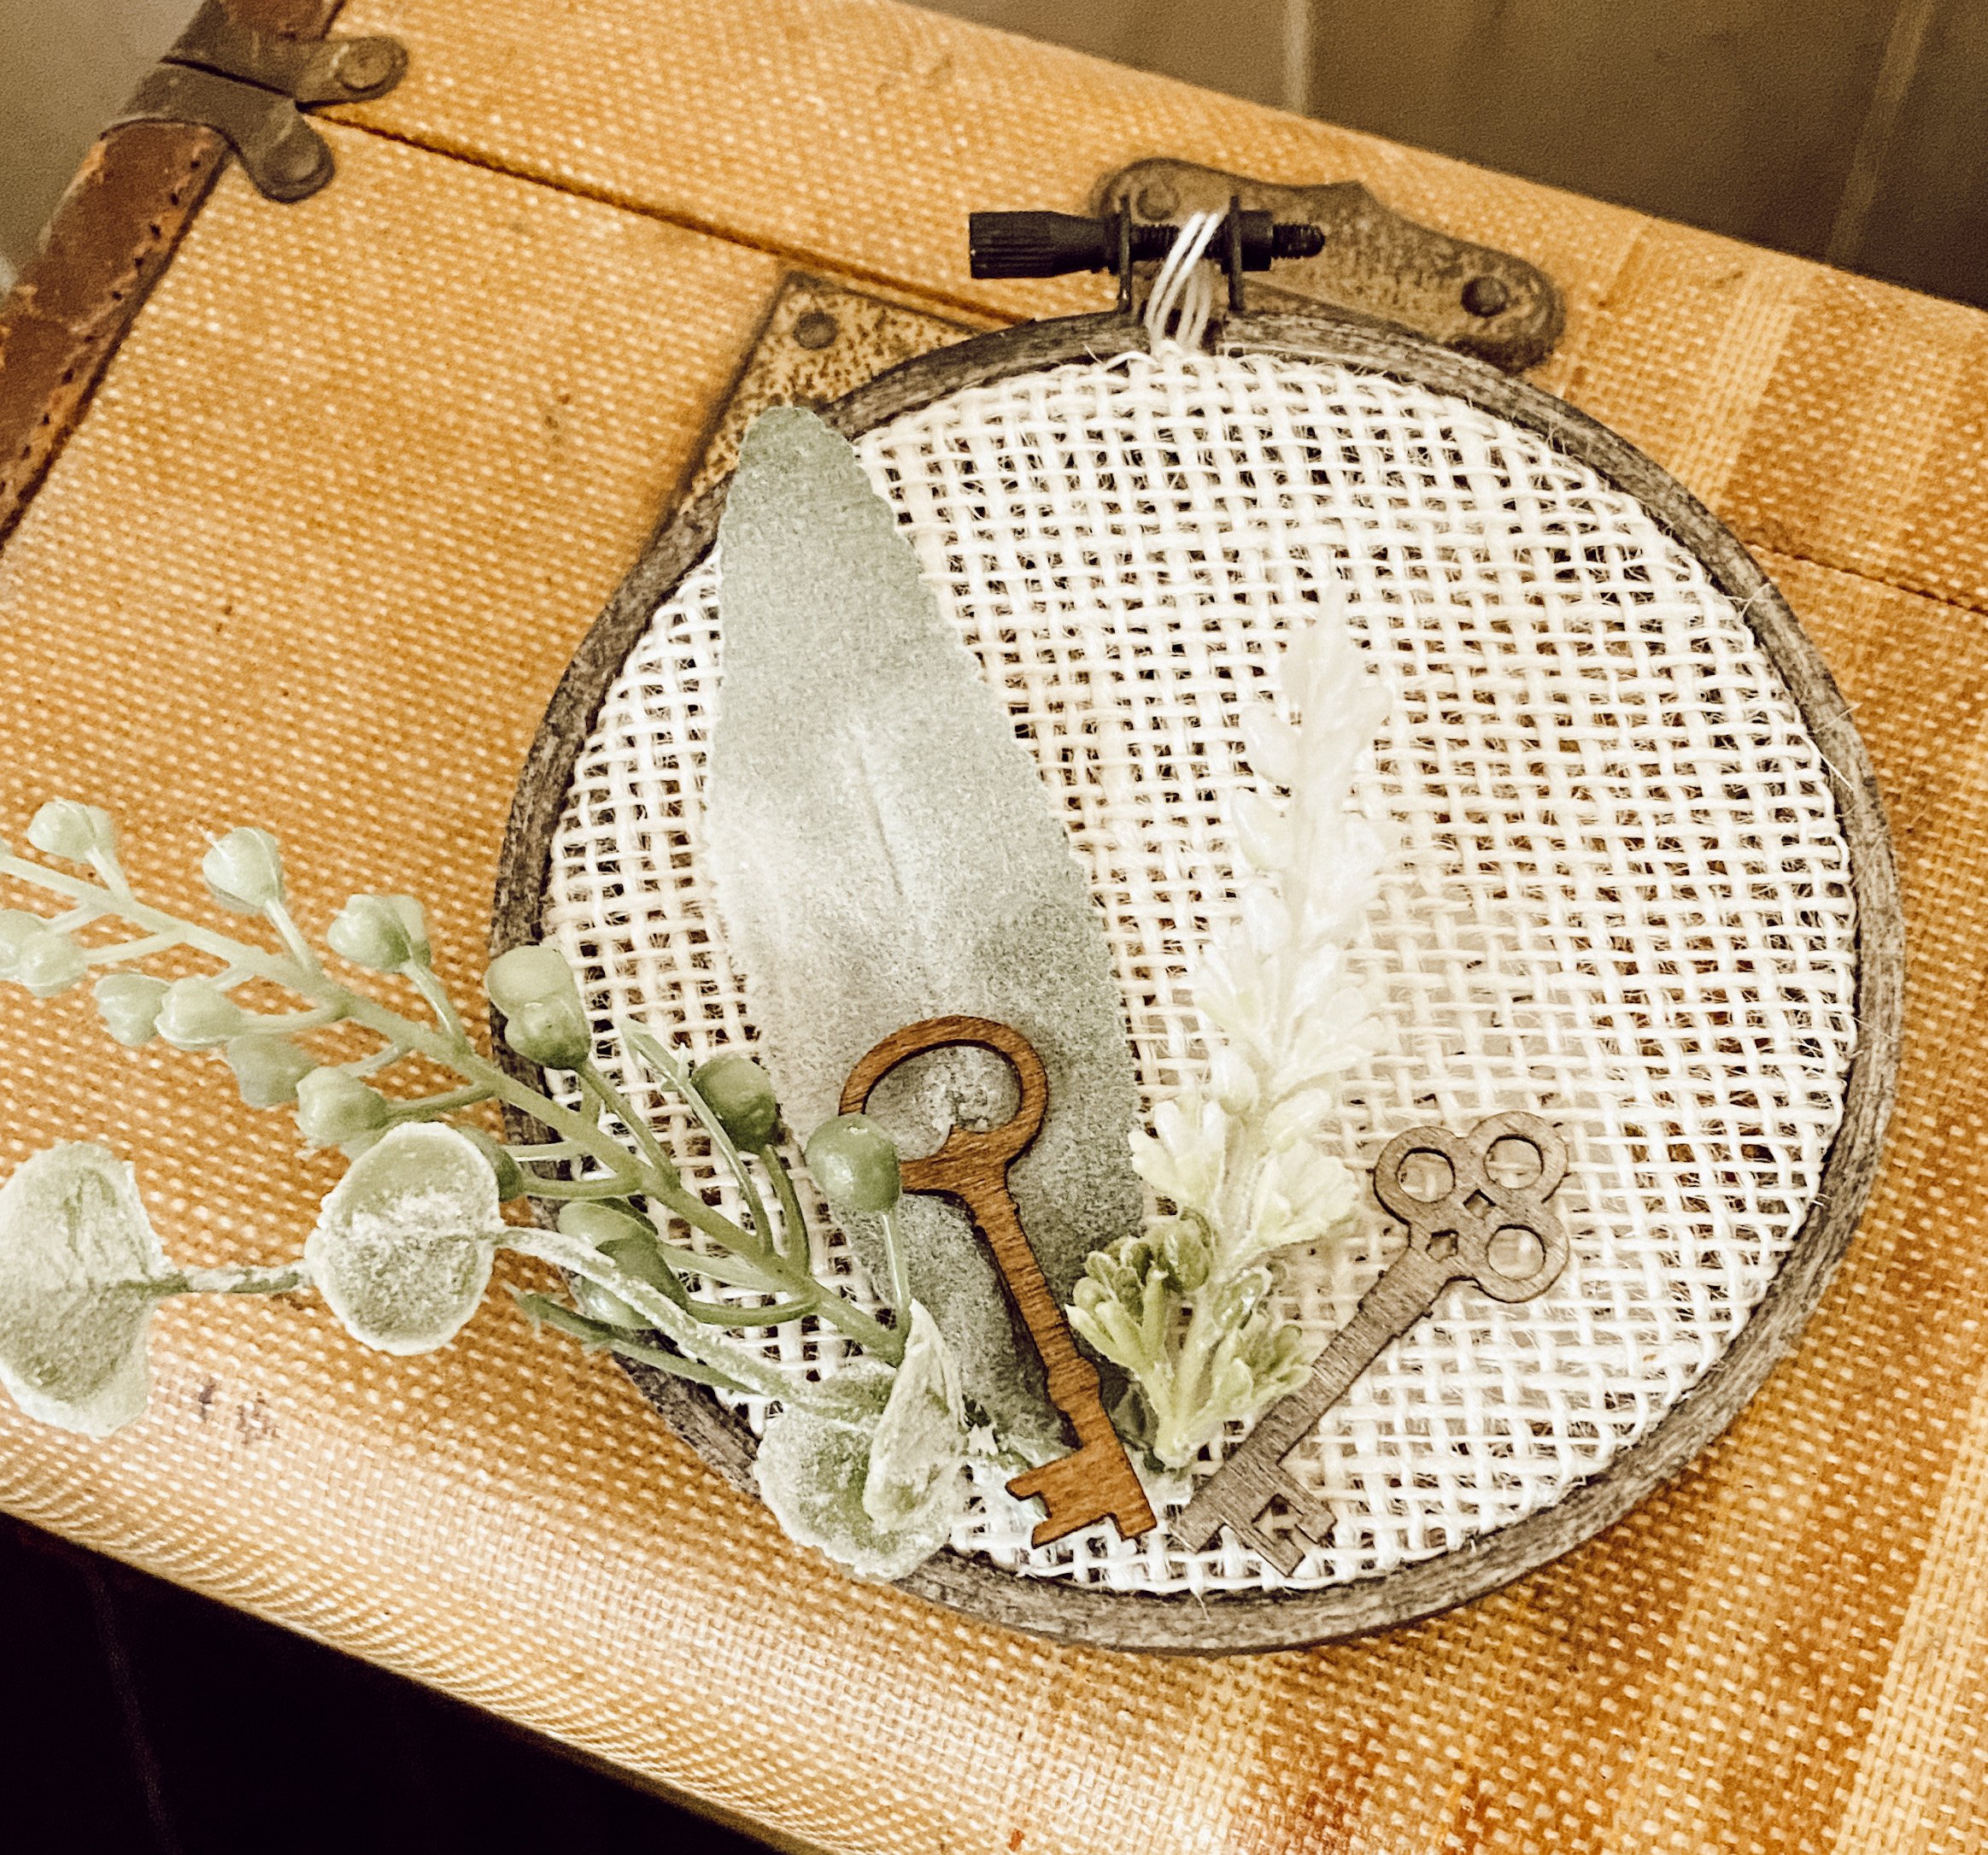
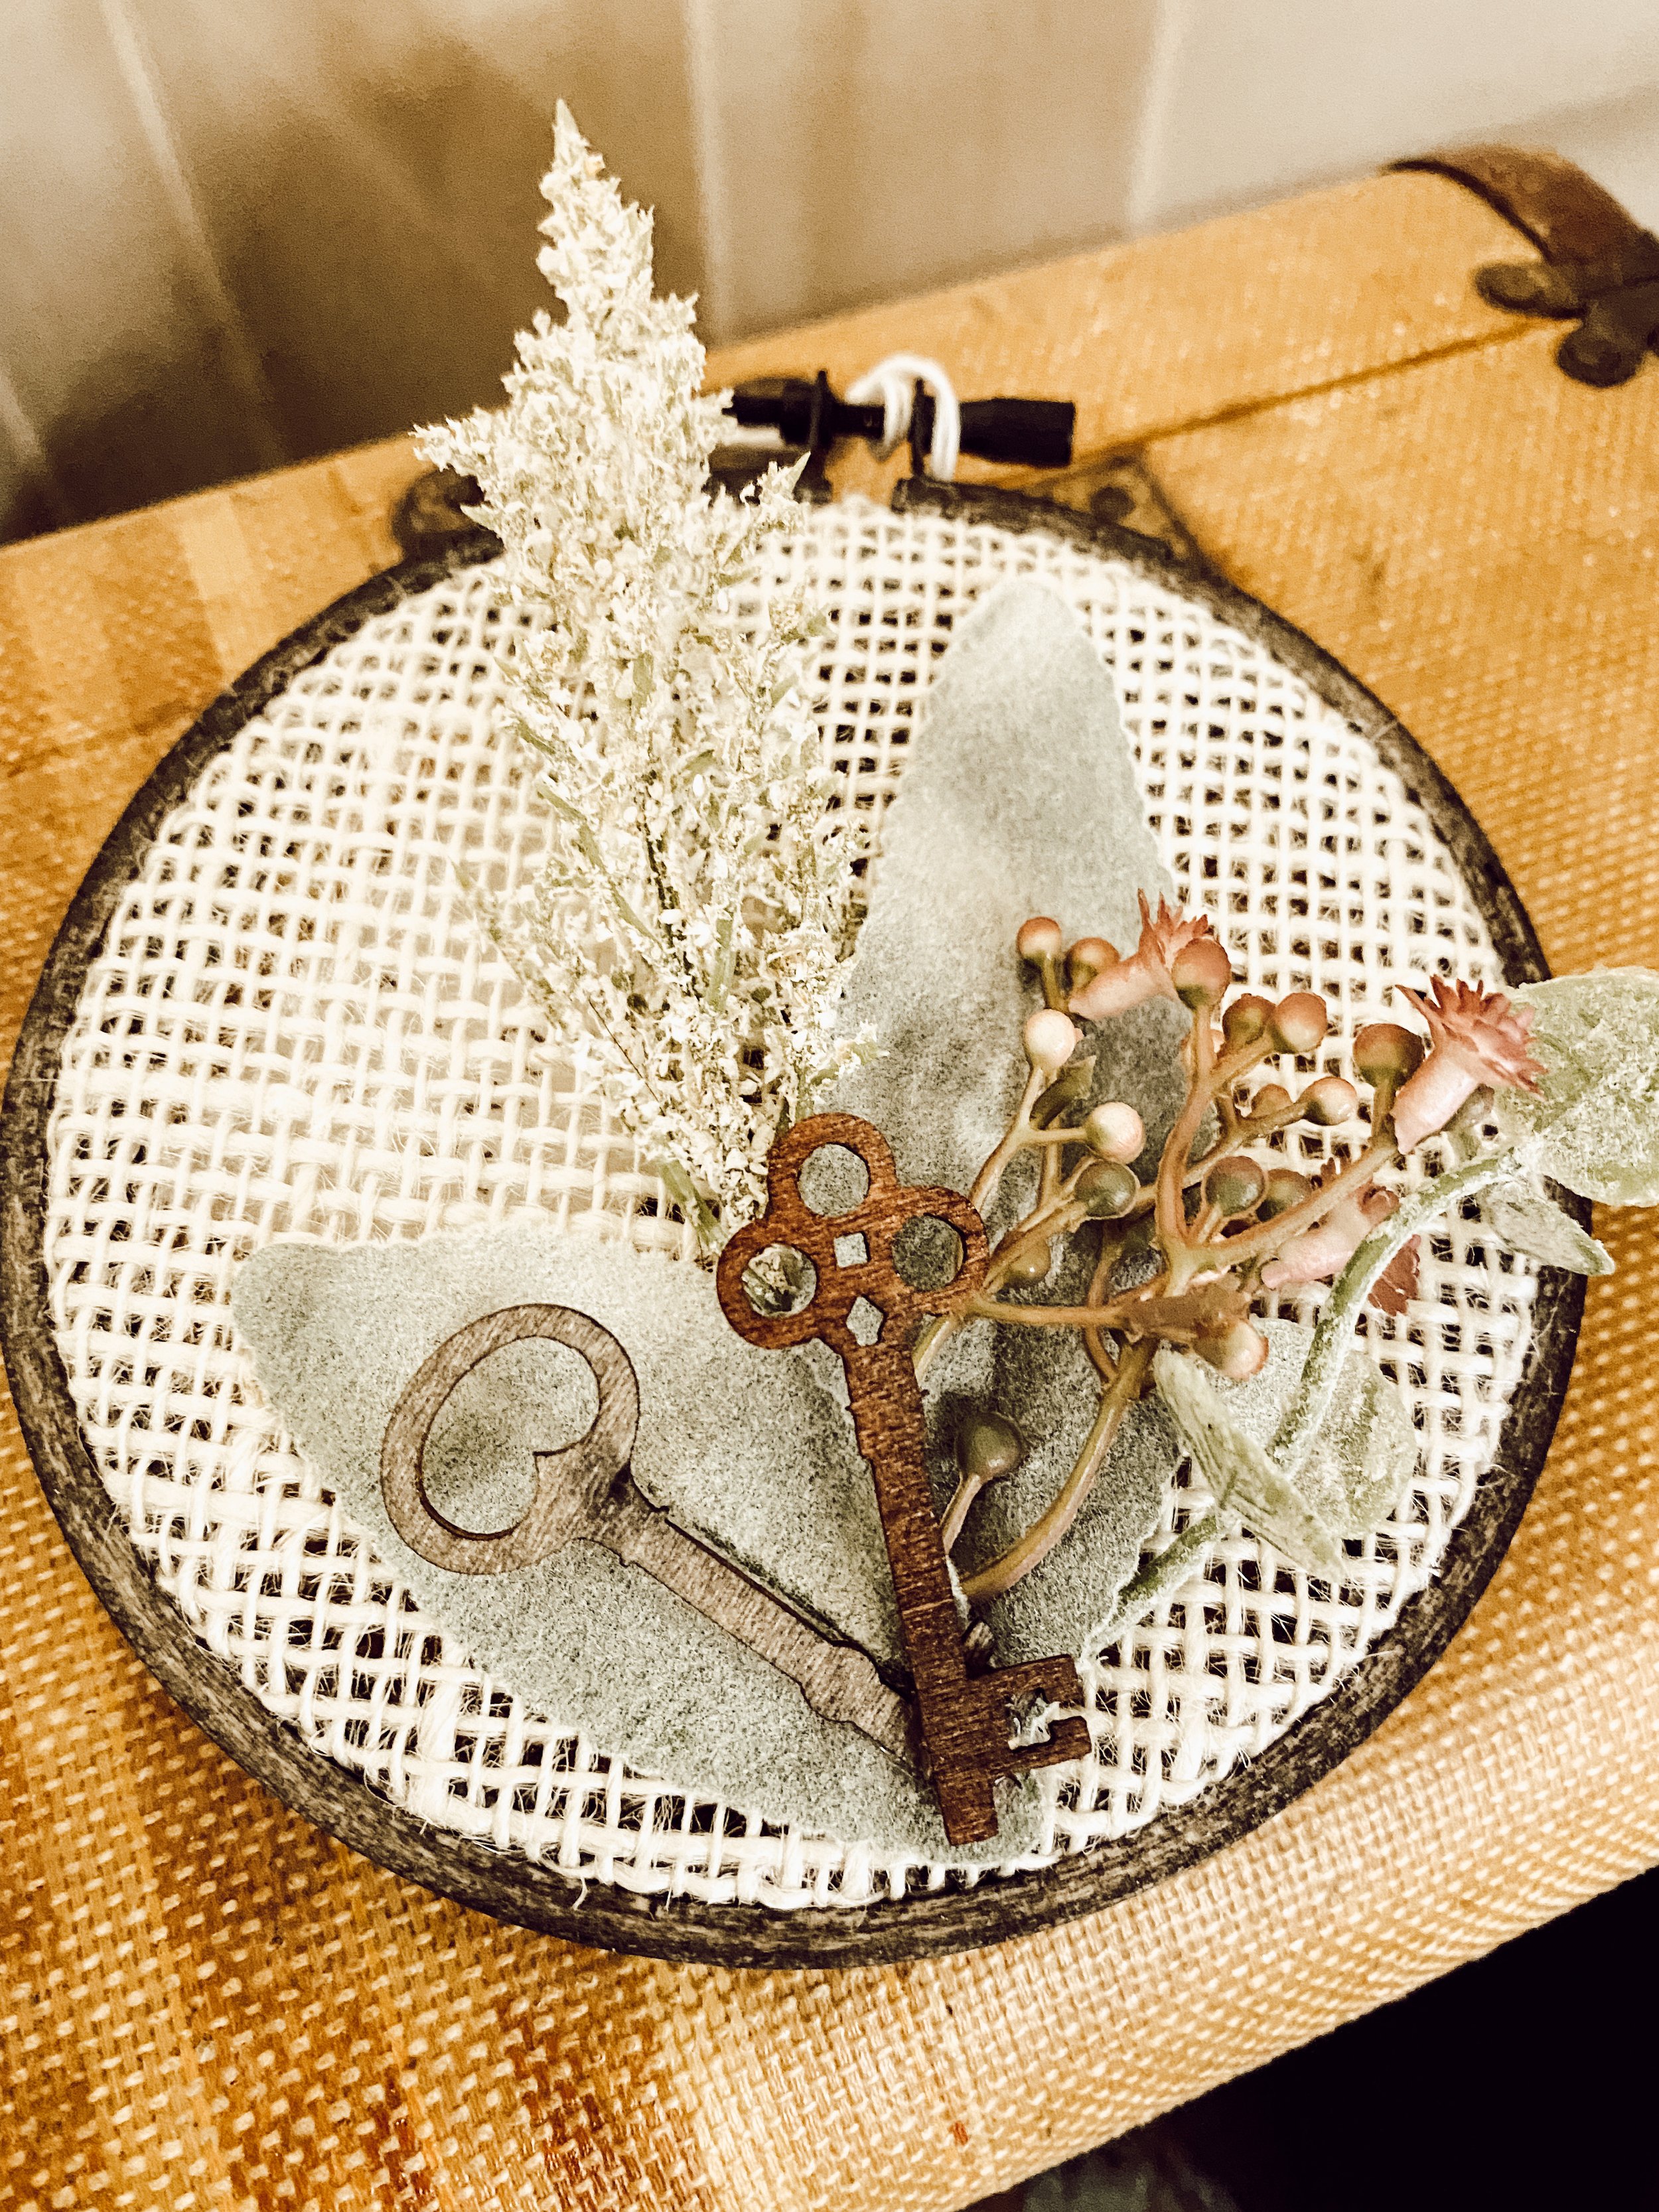
I am always on the hunt for easy, inexpensive DIY home decor ideas. I recently made these sweet decorations out of embroidery hoops and a few other supplies. I only had to buy a few things to get started, and they were so much fun to make. My favorite part about this project is that you can give them as gifts, easily change them to fit any holiday or season and you can make them in different sizes.
Here is a list of everything I used to make these and links to where you can find similar items to start making some of your own!
Burlap-I started with 1 yd. I made two out of larger hoops and two small hoops. I have so much left over to make more! I also didn’t realize how many different colors of burlap our local fabric store had. I choose a cream color.
Burlap by the Yard (This link has 6 different color options)
Embroidery Hoops in any size.
3 Piece Oval Embroidery Hoop Set
10 Piece 2.5-inch Embroidery Hoop Set (This size would be great for Christmas Ornaments, just add some ribbon to hang!)
A Small Pair of Scissors-I needed scissors to trim the left-over burlap from the back of the hoop. The large pair I had wouldn’t trim close enough for the hoop to lay flat. The smaller scissors I had did the trick.
Stain, Stain Pen, Paint-Whatever you would like to use to change the color of the hoop. You can also leave them unfinished.
Black Chalk Paint-This is optional. I painted the metal closure on the hoop black to add a little contrast.
Mod Podge-Also Optional. The chalk paint covered the metal closure, but I was afraid it would chip off. I put one coat of Mod Podge over the chalk paint to protect it.
Any embellishments you would like to add-I added a few flower sprigs and some wooden cut-out birds and keys for Spring.
Craft Medley Miniature Laser Cut Wood Shapes-Birds and Branches
Mini Laser Cut Wood Shapes-Flowers and Butterflies
5 Piece Artificial Eucalyptus Stems
Hot Glue Gun and Glue Sticks to adhere the embellishments.
Gorilla Dual Temp Mini Hot Glue Gun Kit with 30 Hot Glue Sticks
Now you have everything you need!
I had some furniture touch-up markers and they worked perfect for staining the unfinished wood of the hoops. These markers are great because you can use more than one to make the exact color you are looking for. I also used the same markers to stain the wood cut-outs. I found birds, keys and the word “spring”. I stained all of the wood pieces first, then moved on to the burlap.
I used two pieces of burlap for the larger hoops. One piece to cover the hoop, and I folded another piece over to make a pocket to add flowers. I used on piece of burlap for the small hoops. Once I had the burlap the way I wanted it, I tightened the metal closure nice and tight and used my small scissors to trim off the excess from the back.
I painted the metal closure with two coats of black chalk paint and applied one coat of Mod Podge to protect it from chipping. Now the fun part, adding the embellishments! I picked out the flower sprigs that I wanted to use and put them in the pockets. They stayed in place on their own and I only needed to hot glue the flowers to the small hoops. I then hot glued birds to the larger hoops and keys to the small ones. I am so happy with how they turned out and I can’t wait to make more! The possibilities are endless! I hope you enjoy making these as much as I did!


